Note:
Running Github Self-Hosted runners is mostly recommended for private repos, to get more info about this refer to the github documentation.
Setting Up the Self-Hosted GitHub Actions Runner
Why Self-Hosted?
While GitHub provides cloud-hosted runners, using a self-hosted runner offers several advantages for private network deployments. Self-hosted runners allow direct access to your internal network and can be customized to your specific needs.
Installation Steps
Creation of the LXC container and configuration
Setting up a self-hosted GitHub Actions Runner starts with provisioning an execution environment. Here, we create an LXC container in Proxmox VE, which offers efficient resource management and isolation.
For this example, the LXC is configured with 2 CPU cores and 1GB RAM—sufficient for moderate CI/CD workloads like building static sites or running basic tests. Heavier workloads may require more resources, so monitoring performance is essential.
This guide uses a Debian-based LXC, but GitHub Actions Runners support various OS options, including other Linux distributions and Windows Server. The OS choice should match project dependencies and organizational standards.
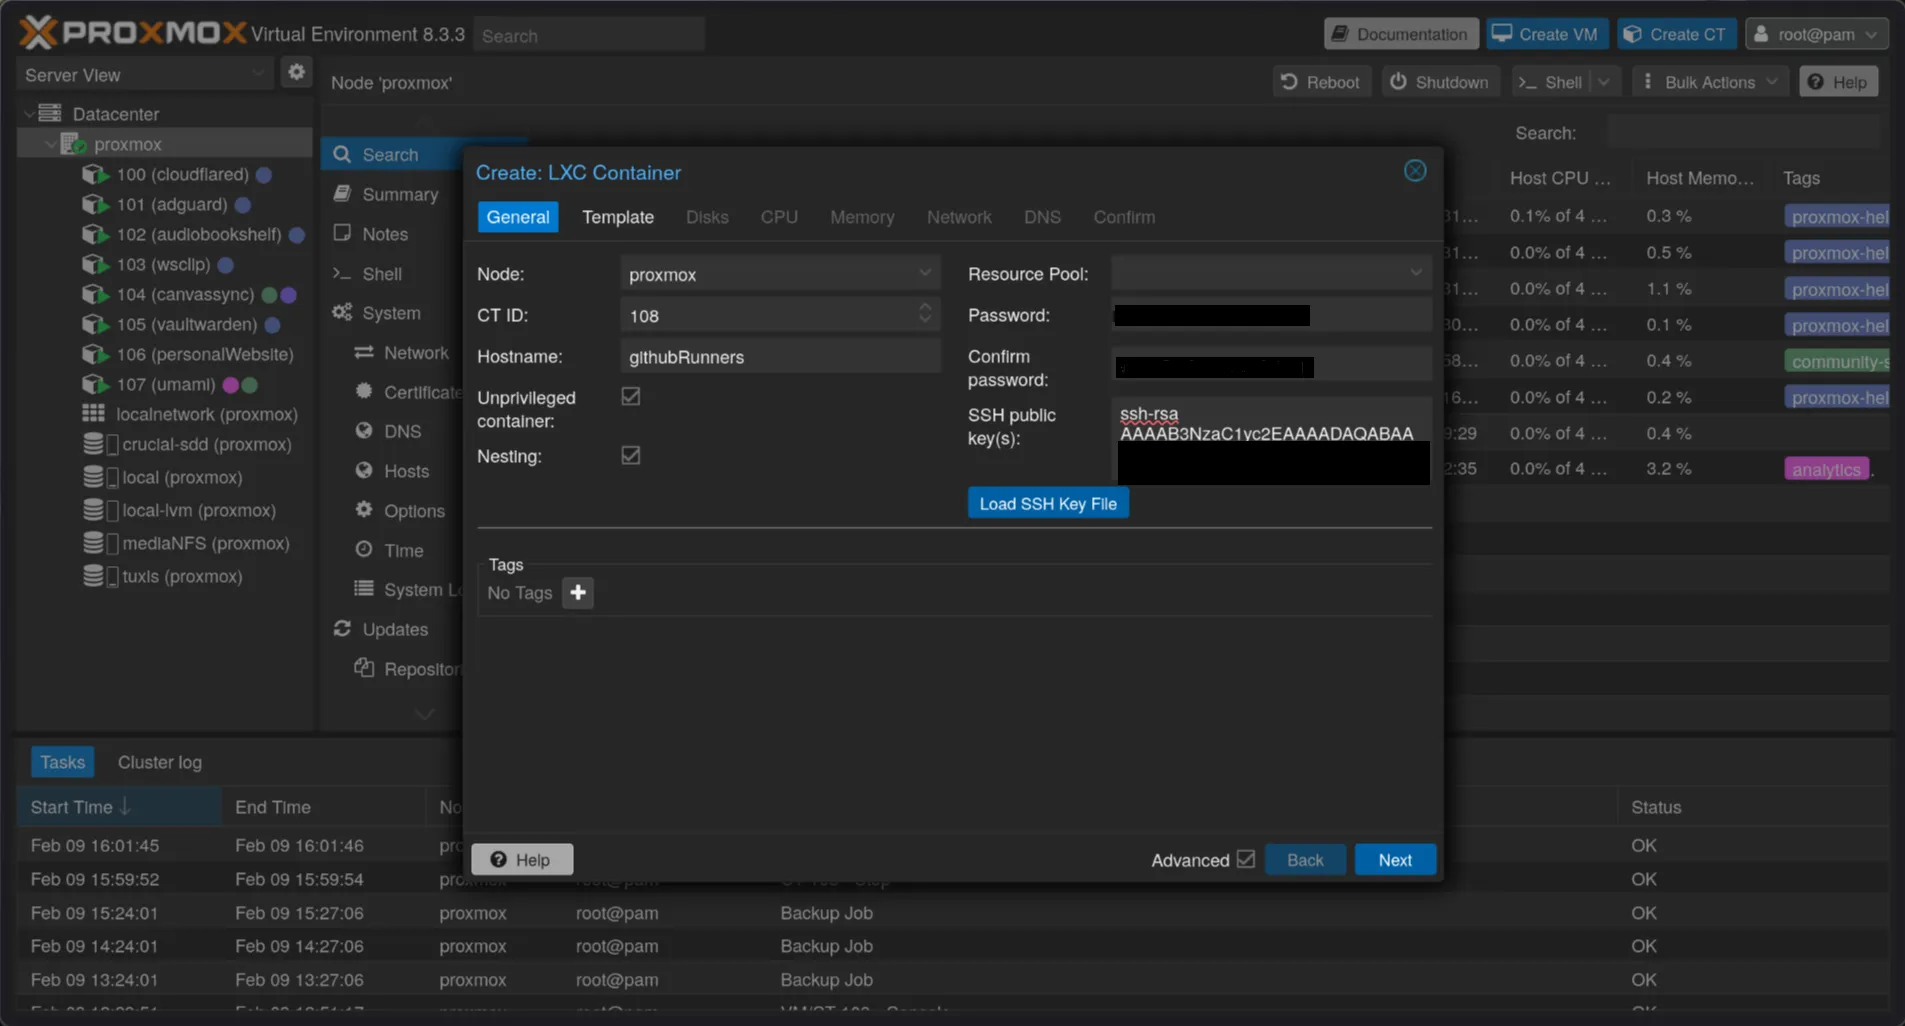
The SSH private key was pre-configured on the container to streamline secure management.
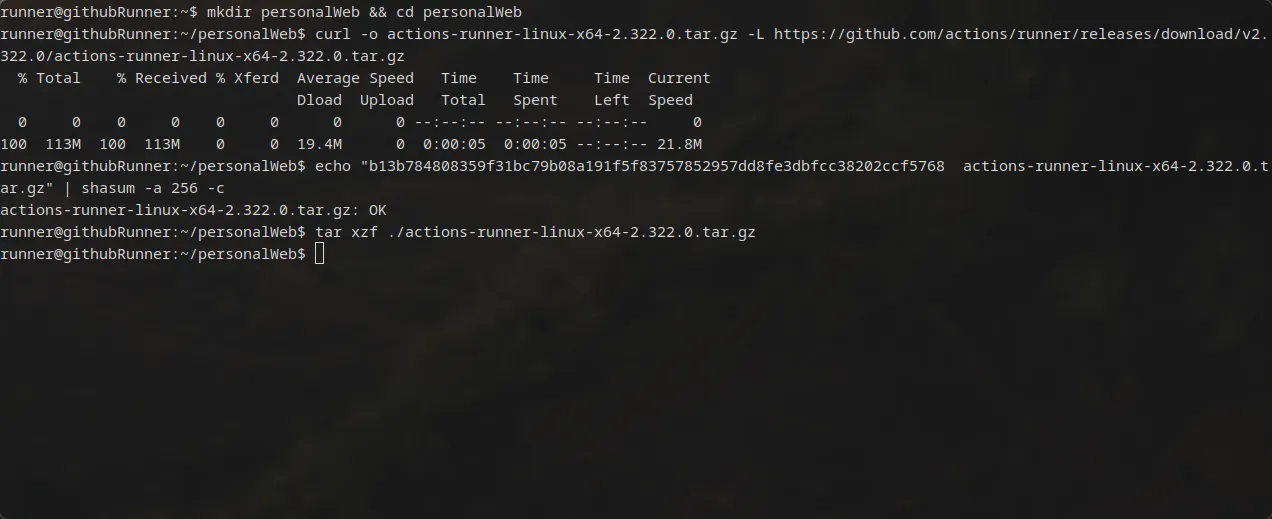
Once inside the LXC create update it and install the necesary programs youll need:
apt update && apt upgrade -y && apt install sudo rsync -y
Then create a deploy user who will handle the configuration of the github runner and cronfigure a password for it:
sudo useradd -m -G sudo -s /bin/bash runner
sudo passwd runner
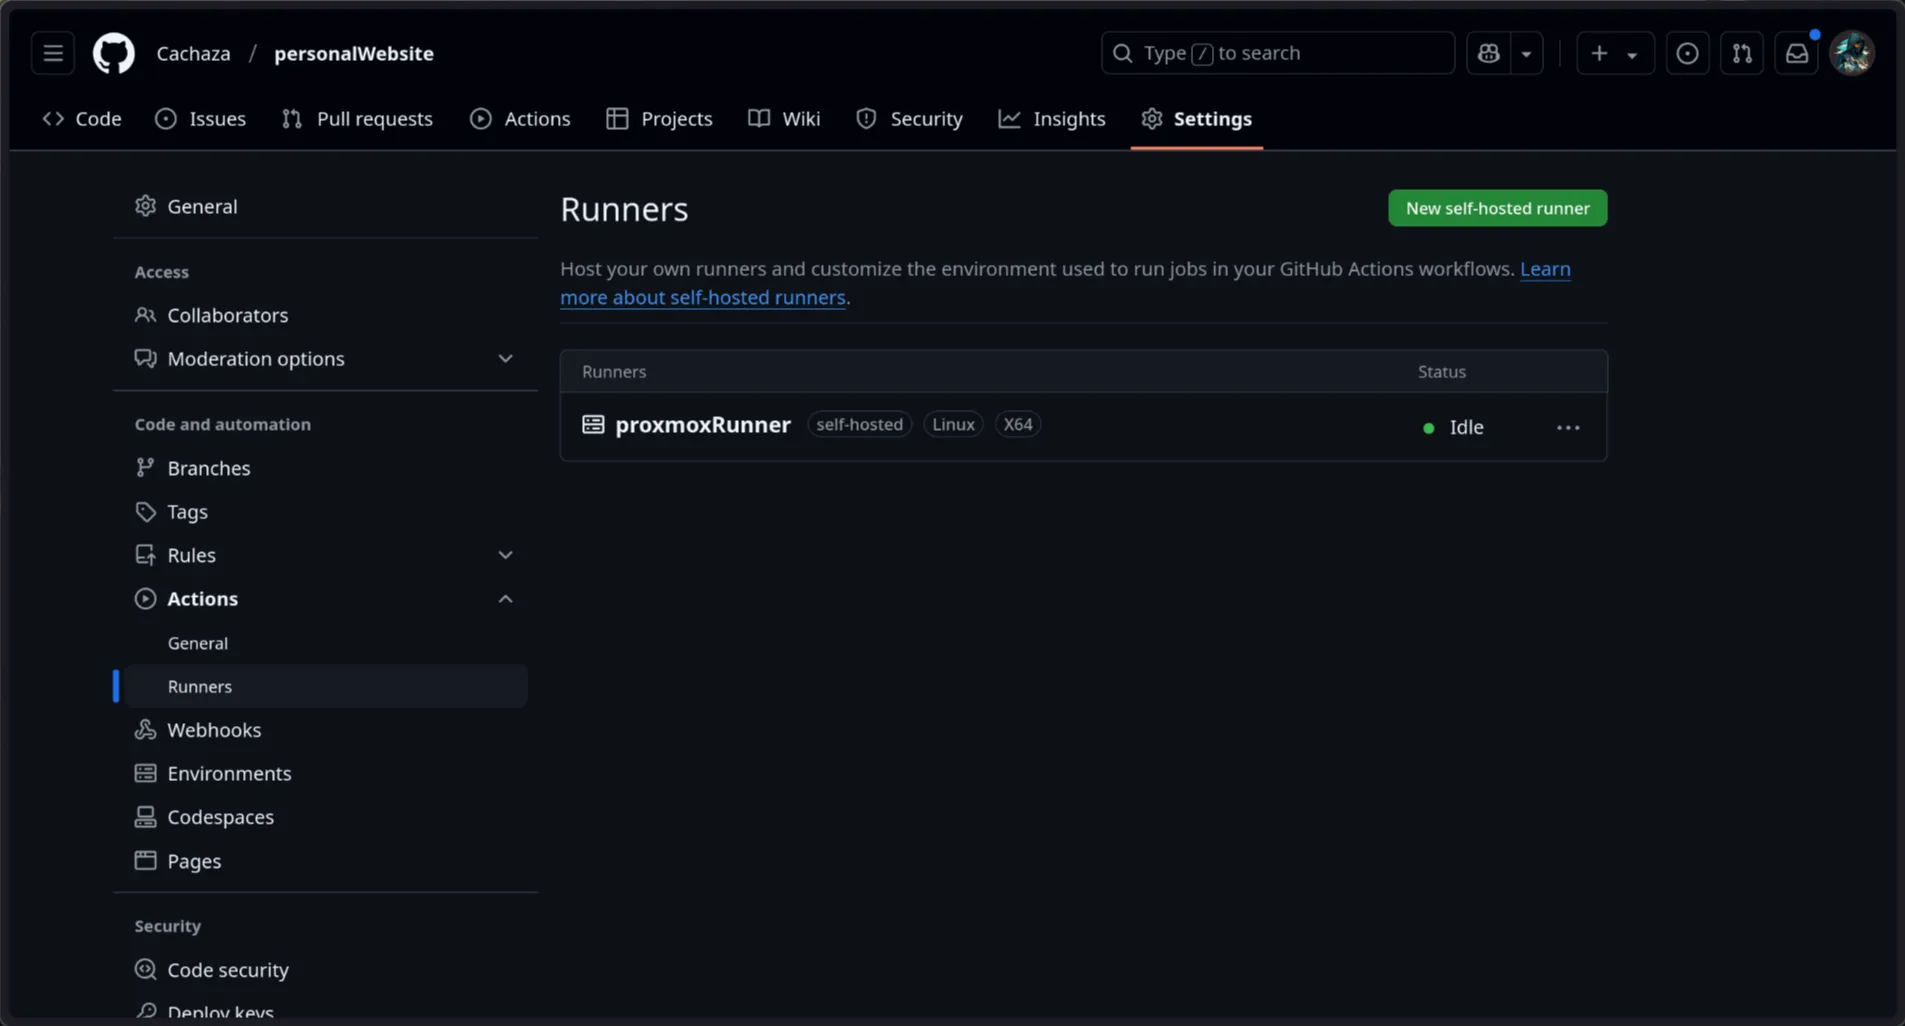
On your github repo, go to settings, and under Actions click on Runners:
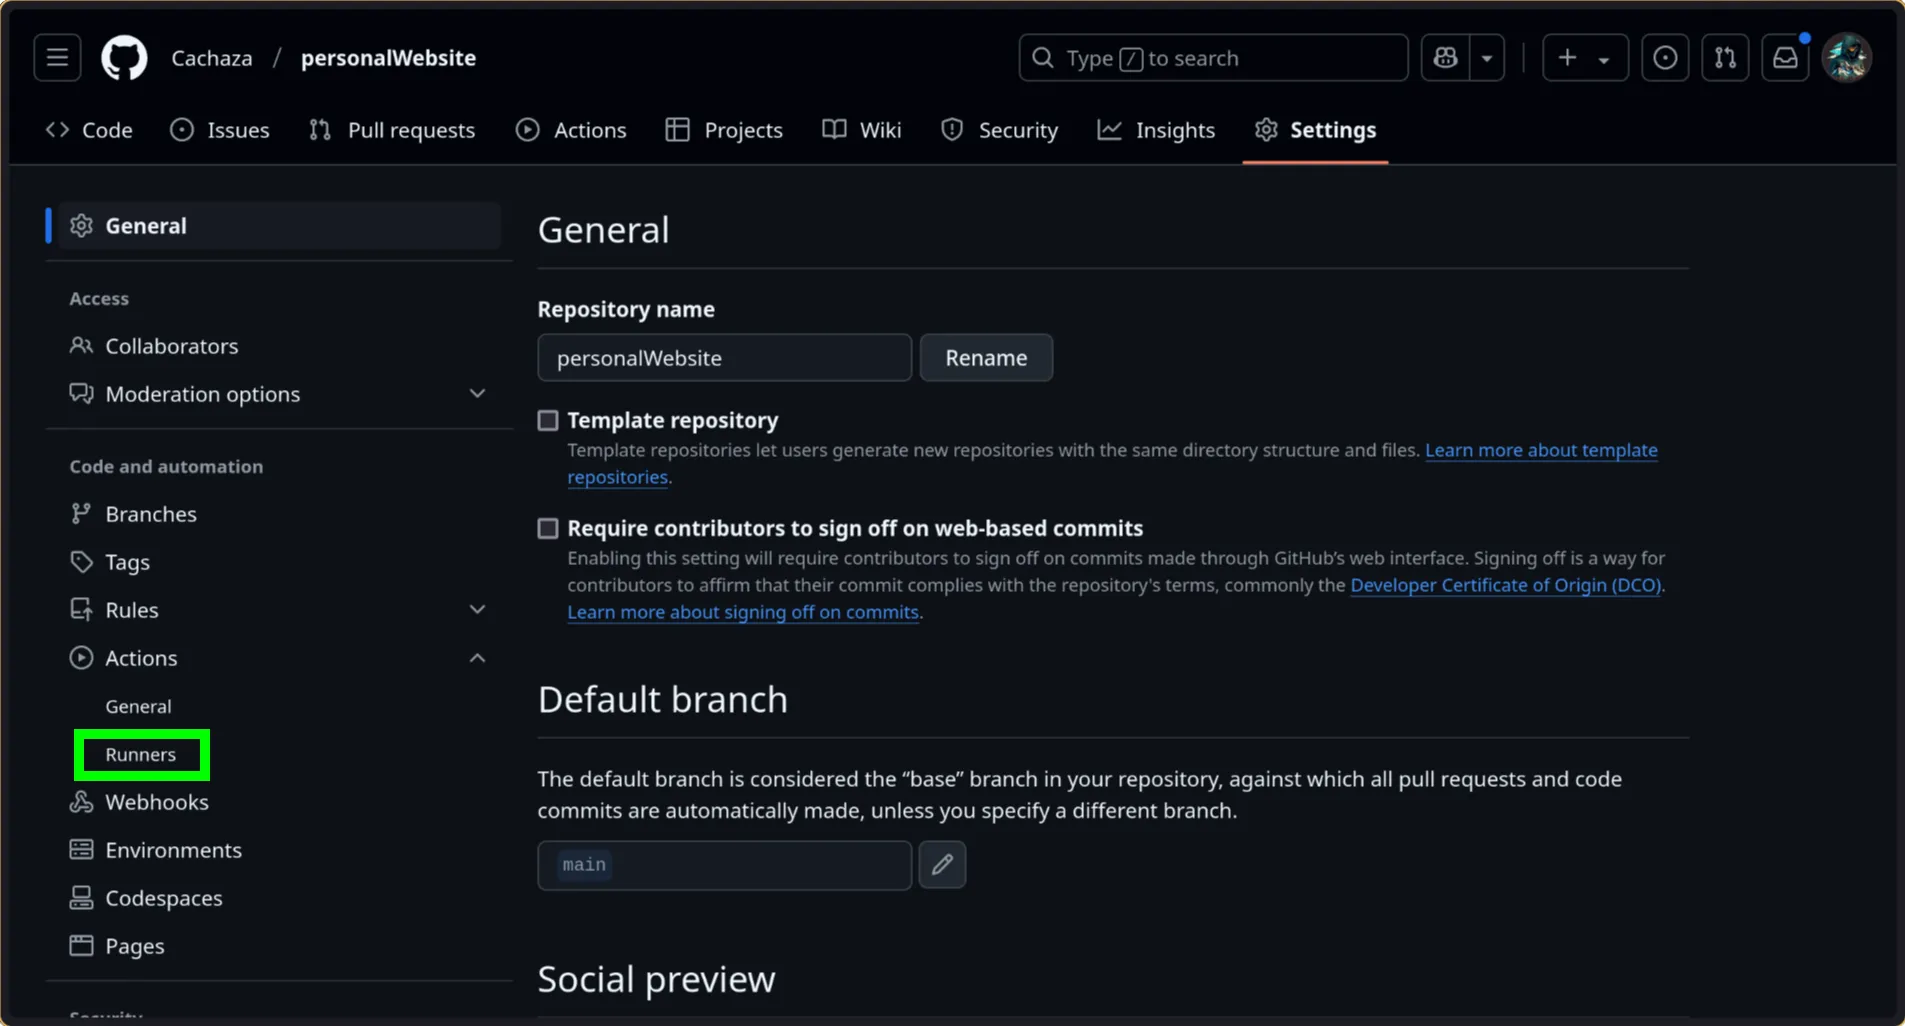
Click the “New self-hosted runner”

On the page, you will see the code youll have to execute to install the github runner on your LXC
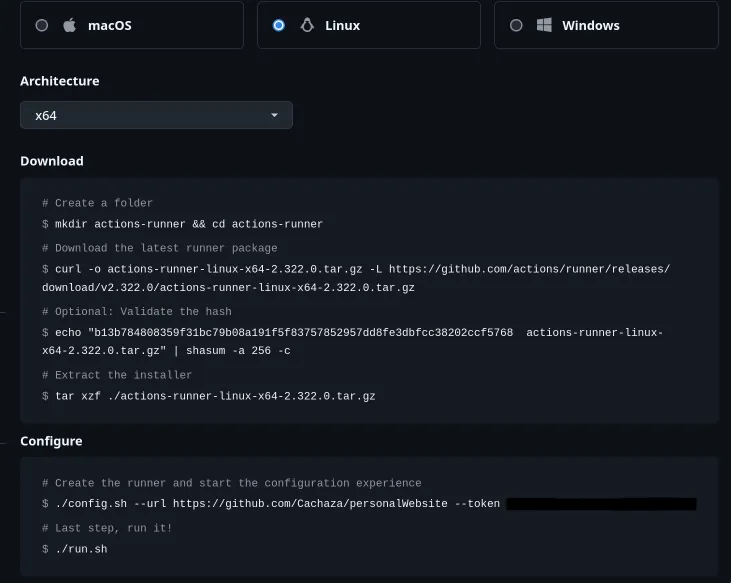
In this case I will give the folder a custom name because there will be multiple runners for differnt projects on the same container.
Then run your specific commands given in the Github page to configure the selfhosted runner.
sudo ./config.sh --url <your.github.repo> --token <Token>
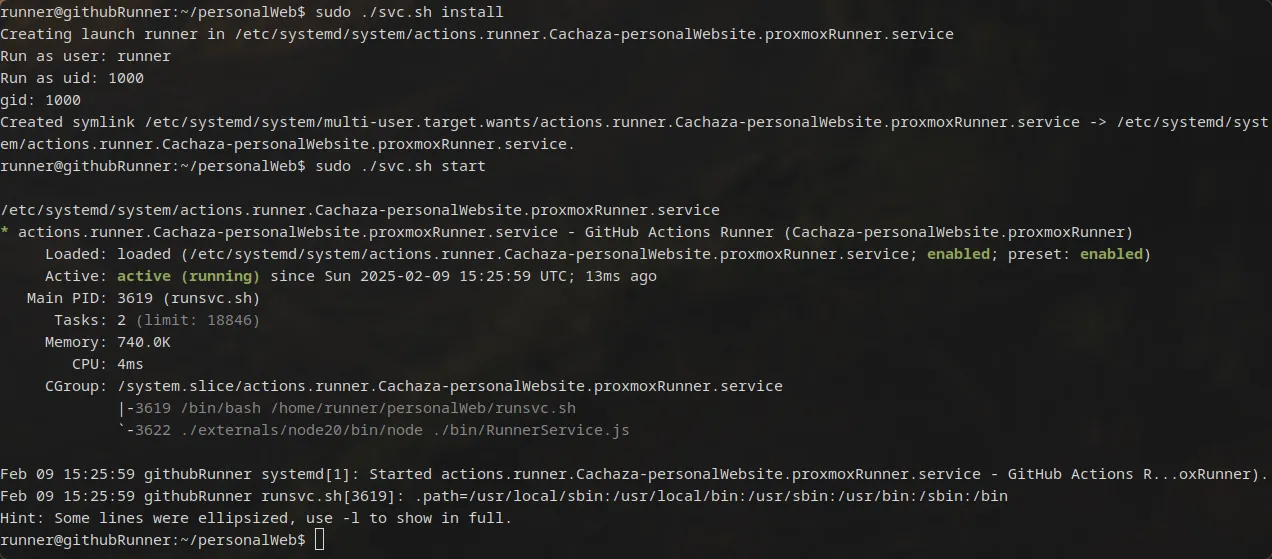
After configuring the service, you can run it but in this case we are going to install it as a service so it is always runnig:
sudo ./svc.sh install
sudo ./svc.sh start
If you check your github project runners you will see a new project idle:
Configuring the Blog LXC Container
Setting Up the Deploy User
Creating a dedicated deployment user is crucial for security and auditing.
# Create deploy user
useradd -m -s /bin/bash deploy

# Create password for that user
passwd deploy

# We will need rsync on both machines
apt install rsync
SSH Key Authentication
On the runner container create a ssh key and copy it to the server container
# Generate SSH key pair
ssh-keygen -t ed25519 -f ~/.ssh/blog_deploy

# Copy public key to deploy user
ssh-copy-id -i ~/.ssh/blog_deploy.pub deploy@<server_id>
GitHub Actions Workflow
Once the runners service is running and the ssh keys are configured we can configure the Github actions workflow.
Here’s the complete workflow that builds and deploys your blog:
name: Build and deplay the site to the server

on:
  push:
    branches: [ "main" ]
  workflow_dispatch:

jobs:
  # Build process
  Build:
    # This ensures the workflow will run on our machine
    runs-on: self-hosted
    steps:
      - uses: actions/checkout@v4

      - name: Build Static Site
        run: |
          npm install
          npm run build
  # Copy the output files from the astro build to the server
  Deploy:
    runs-on: self-hosted
    needs: Build
    steps:
      - name: Deploy to Blog Server
        run: |
          rsync -avz --delete -e "ssh -i ~/.ssh/blog_deploy" dist/ deploy@<server_ip>:/var/www/astro/
This workflow first build the astro site using NPM and in the second stage, copies the outputs of the build trough Rsync to the server to the folder configured to be serverd through nginx
Security Best Practices
SSH Restrictions
Enhance security by adding command restrictions in your authorized_keys file:
command="rsync --server -logDtprze.iLsfx . /var/www/html/",no-port-forwarding,no-X11-forwarding,no-agent-forwarding,no-pty ssh-ed25519 AAAA... github-actions-deploy
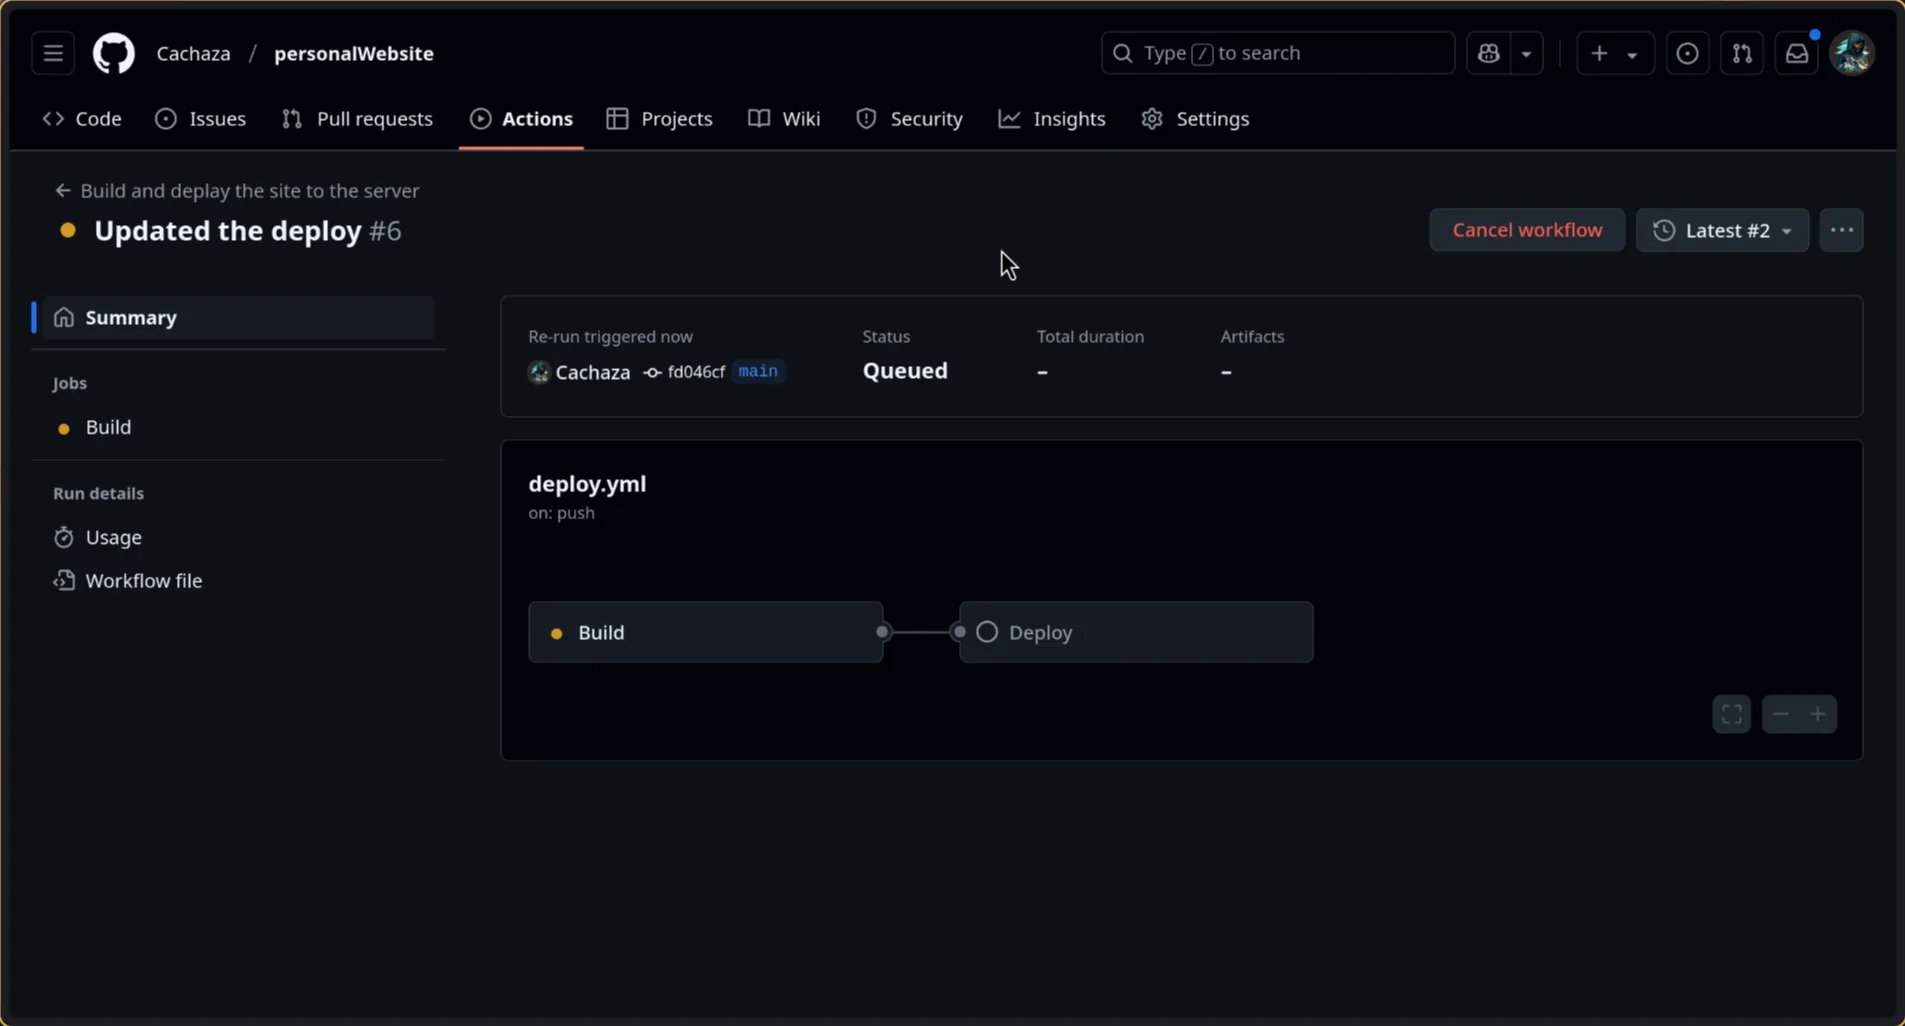
Testing the Workflow
Once the workflow is configured and commited, and pushed to the repo, we will see the workflow executing from our github page:
Conclusion
By implementing this automated deployment pipeline, you’ve significantly improved your blog deployment workflow. The combination of GitHub Actions and Proxmox LXC provides a robust, secure, and efficient solution for managing your blog deployments.
Feel free to adapt this setup to your specific needs, and don’t hesitate to share your experiences or ask questions in the comments below.